
Learn how new users can be uploaded and edited in the Movement Health Platform quickly using CSV import.
To learn how to add one User at a time, click here for a tutorial.
Add Users from CSV Upload
This capability allows you to add/import multiple users at a time.
- Navigate to a Team
- Click the menu dots in the top right of the Users Table next to "Add a User."
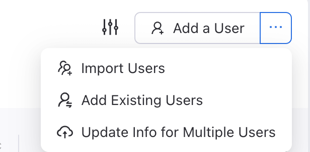
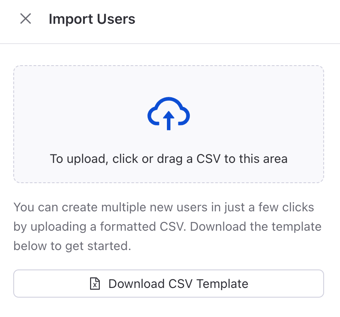
- Click "Import Users" on the menu
- Click "Download CSV Template," then open the document once the download is complete
- Clear all example data (rows 2 and 3) before beginning roster entry
- Begin filling in each column by entering First and Last Names, or copy and paste from existing rosters
- There are four required fields when creating a new User:
- First Name
- Last Name
- Sex Assigned at Birth (m or f)
- Birth Date (M/D/YY)
- Optional fields:
- Email Address - personal email address to use for viewing your user profile and/or utilizing the Sparta MOVE App
- Height (first column is ft., second column is in.)
- Invite ("y" for yes and "n" for no) - if an email is included, "y" will trigger an invitation email to the User
- Group Membership - click here for a guide to creating Groups
- To automatically add a User to an existing Group, type in the Group name as it appears in the MHP.
- Tags - must be activated in Team settings. Click here for a guide to setting up Tags
- Tags must be entered as Main:Subgroup as they appear in the MHP. For example, "Baseball:Pitcher" or "Public Service:Police"
- To add more than one tag to a User, separate each by a comma and one space. For example, "Soccer:Forward, Soccer:Midfield"
- External ID - student ID number, jersey number, patient ID, or other alternate ID, if desired
- Save the document as a CSV, then navigate back to the Sparta Admin App. Click the cloud icon under Import From List and select the document from your computer.

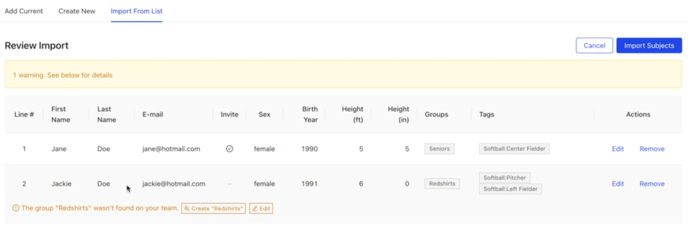
- Upload will be populated on a screen that allows you to correct any typos or erroneous entries. Review and edit within, and when finished, click Import Subjects.
Edit Users (export and re-import) from CSV Upload
This capability allows you to edit/update information for multiple users at a time. It also allows you to export the user list.
- Navigate to the Team you would like to update user information for.
- Click the menu dots in the top right of the Users Table next to "Add a User."
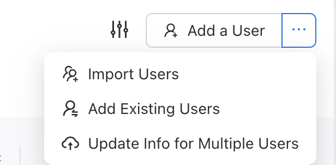
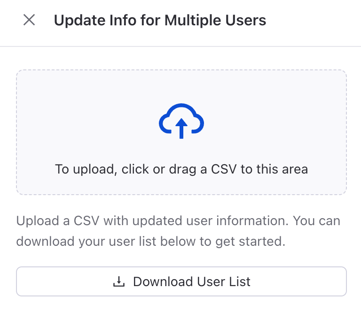
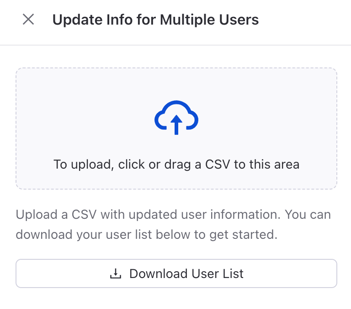
- Select “Update Info for Multiple Users.”
- Export the user information by clicking “Download User List” in the drawer.
- Open the downloaded csv file. Update the necessary user information. Information that is not edited will remain the same.
- Note: the Subject ID field should not be edited.
- See above for more explanation of the different fields.
- Save the document as a CSV, then navigate back to the Sparta Admin App. Click the cloud icon under Update Info for Multiple Users and select the document from your computer.
- Upload will be populated on a screen that allows you to correct any typos or erroneous entries. Review and edit within, and when finished, click Import Subjects.